 |
am2zzw00007618
AUDIO PANEL No.1 REMOVAL/INSTALLATION
id091700606500
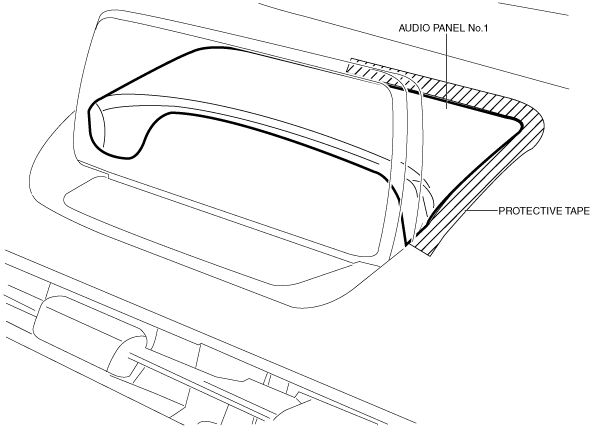
1. To prevent scratches or damage, affix protective tape to the position shown in the figure of the dashboard.
am2zzw00007618
|
2. Remove the glove compartment. (See GLOVE COMPARTMENT REMOVAL/INSTALLATION.)
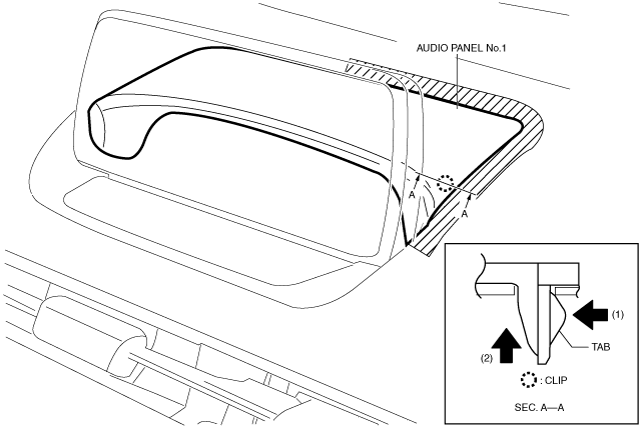
3. Insert your hand from the glove compartment opening and while pressing the clip tab in the direction of arrow (1), move the clip in the direction of arrow (2) to detach the clip from the dashboard, and assure a clearance to insert the remover tool.
am2zzw00007619
|
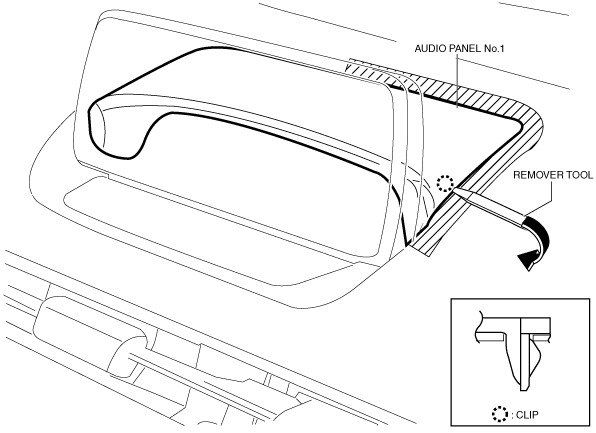
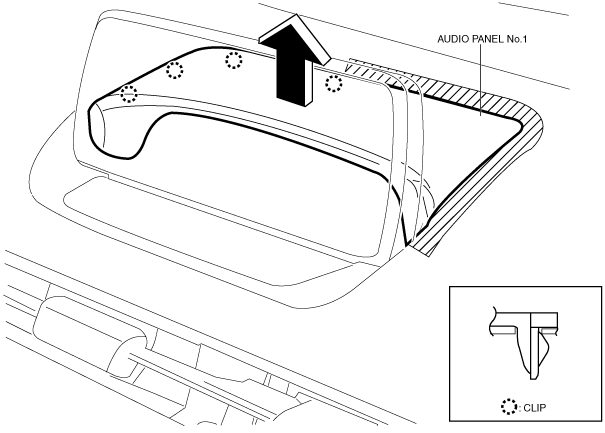
4. Insert the remover tool into the clearance assured in Step 3, move the remover tool in the direction of the arrow shown in the figure and lift audio panel No.1 up.
am2zzw00008534
|
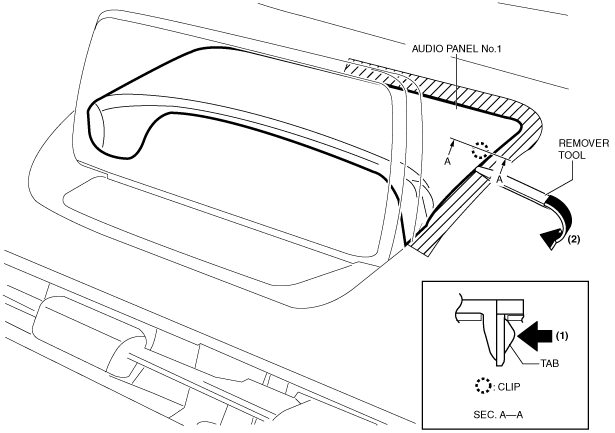
5. Insert the remover tool into the position shown in the figure.
am2zzw00007685
|
6. Insert your hand through the glove compartment opening and while pressing the clip tab in the direction of arrow (1) shown in the figure, move the remover tool in the direction of arrow (2) and detach the clip from the dashboard.
7. Insert the remover tool into the position shown in the figure.
am2zzw00007686
|
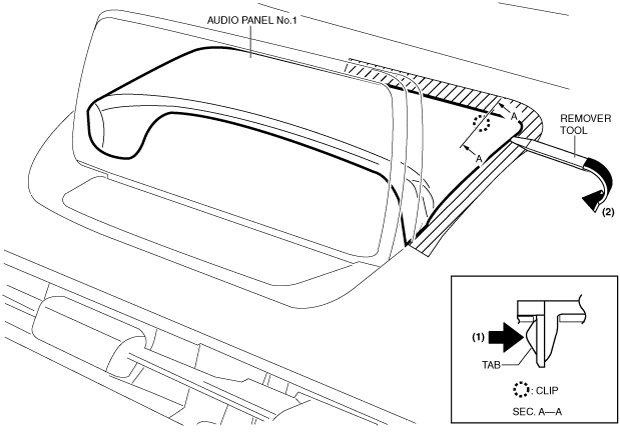
8. Insert your hand through the glove compartment opening and while pressing the clip tab in the direction of arrow (1) shown in the figure, move the remover tool in the direction of arrow (2) and detach the clip from the dashboard.
9. Remove audio panel No.1 by pulling it in the direction of the arrow shown in the figure.
am2zzw00007687
|
10. Install in the reverse order of removal.