 |
am2zzw00007696
AUDIO PANEL No.2 REMOVAL/INSTALLATION
id091700607200
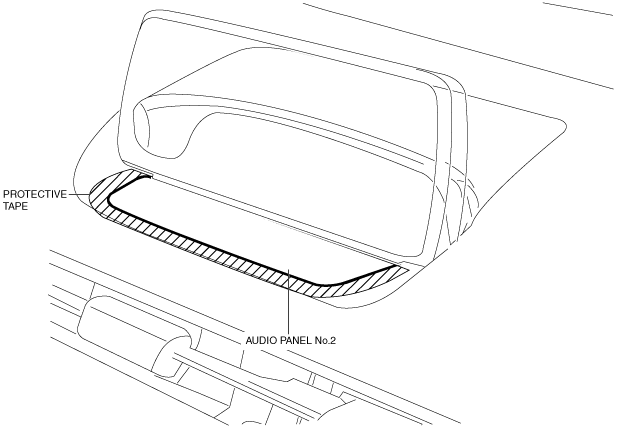
1. To prevent scratches or damage, affix protective tape to the position shown in the figure of the dashboard.
am2zzw00007696
|
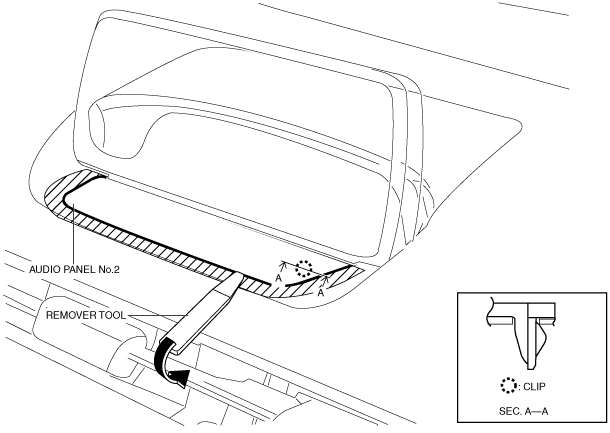
2. Insert the remover tool into the position shown in the figure, move the tool in the direction of the arrow and detach the clip from the dashboard.
am2zzw00007697
|
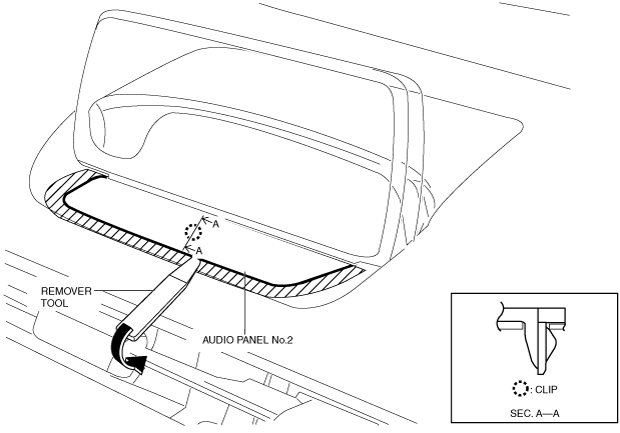
3. Insert the remover tool into the position shown in the figure, move the tool in the direction of the arrow and detach the clip from the dashboard.
am2zzw00007698
|
4. Insert the remover tool into the position shown in the figure, move the tool in the direction of the arrow and detach the clip from the dashboard.
am2zzw00007699
|
5. Remove audio panel No.2 by pulling it in the direction of the arrow shown in the figure.
am2zzw00007700
|
6. Install in the reverse order of removal.